Contractor Onboarding: Invitation & Management 🚀
Parakeet Guide
Nov 10, 2025

Managing contractor compliance can be overwhelming—juggling spreadsheets, chasing missing insurance certificates, and coordinating onboarding across email threads. Parakeet Risk eliminates this chaos!
Whether you’re onboarding electricians, heavy equipment operators, or specialized service providers, you’ll learn how to automate compliance tracking, set role-specific requirements, and maintain real-time visibility into every contractor’s status.
1. Creating Contractor Types 🏗️
As the first step before sending invitations, you can set up your contractor types.
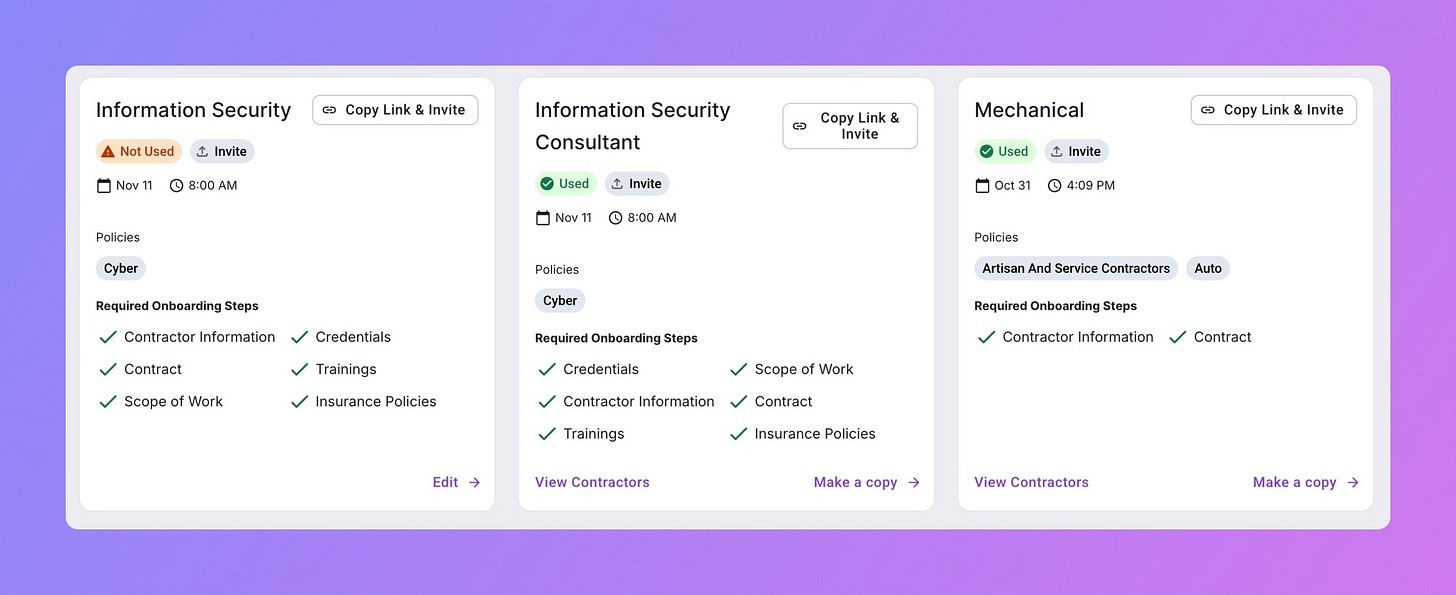
Contractor types allow you to customize onboarding requirements based on the role or service each contractor provides. This ensures you collect the right information and insurance coverage for different types of work.
✅ Steps to create a Contractor Type
Navigate to the Contacts module in your Parakeet dashboard
Select Contractor Types from the menu
Create New Contractor Type
Configure the following settings:
Name the contractor type (e.g. Electrician, Heavy Equipment Operator, Truck Driver)
Select required policy types – Choose which insurance policies this contractor type must have (e.g. General Liability, Workers’ Compensation)
Choose required onboarding steps – Select which documentation and compliance steps this contractor type must complete
Once configured, all contractors assigned to this type will automatically see only the relevant steps they need to complete.
Available onboarding steps
Company information
Payment and accounting details
Training certifications
Credentials and ID verification
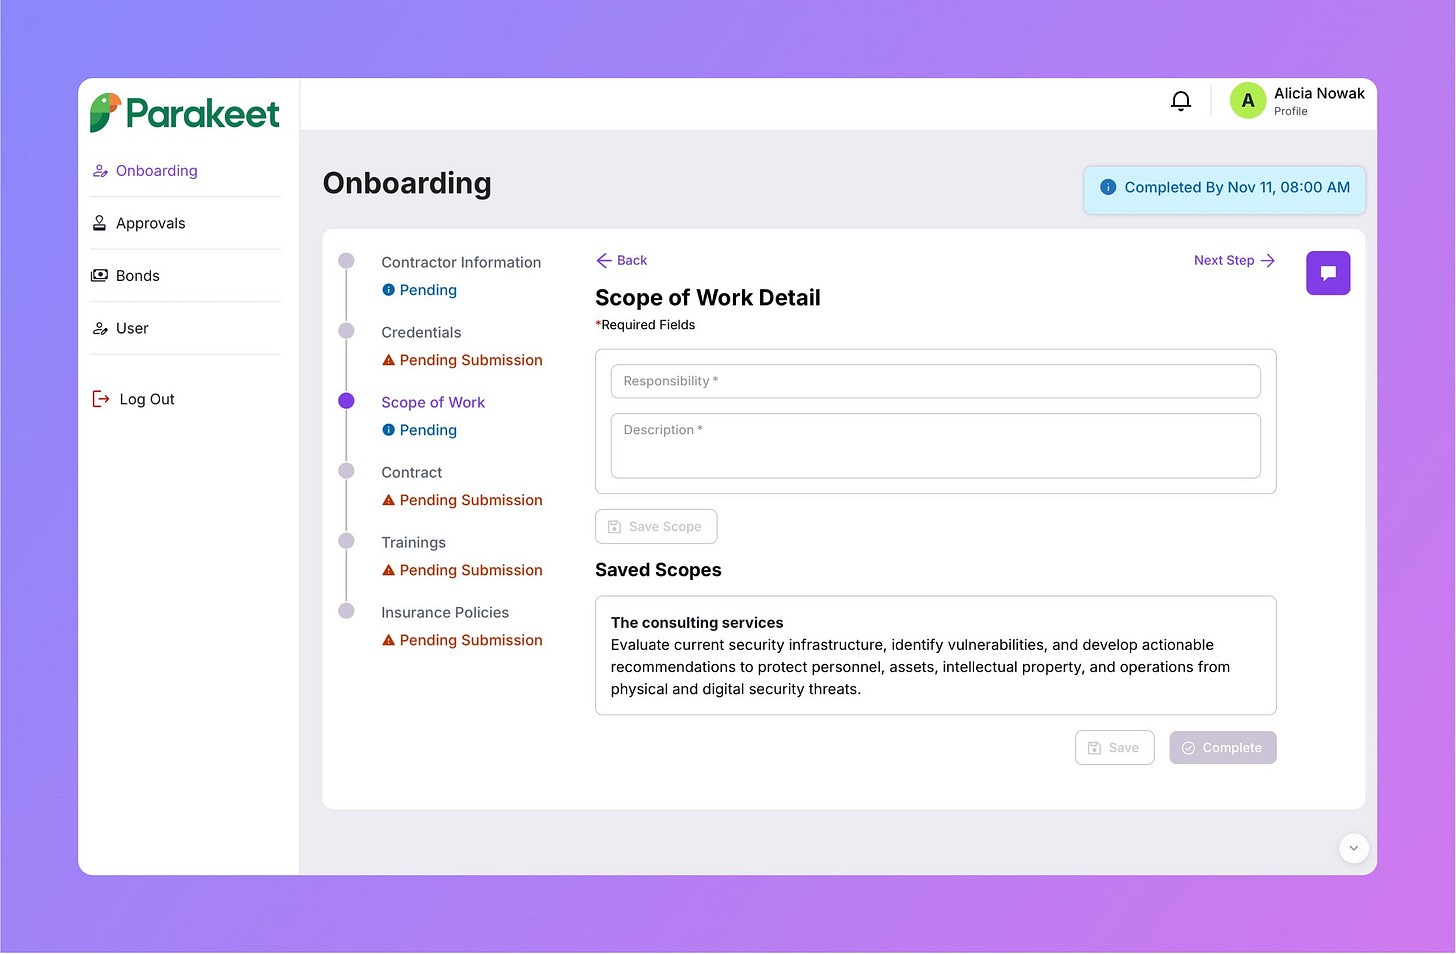
Scope of work documentation
Contract submission
Insurance policy verification (via Canopy Connect integration)
Safety record and metrics
2. Inviting Contractors 📧
The invitation process creates a personalized onboarding portal for each contractor.
How to invite a Contractor?
There are two options: use either a unique invite link or a reusable link tied to a specific group of contractor types.
Option 1: Define a Contractor Type
Go to the COI Verification section
Find Contacts module
Click +Add Contractor
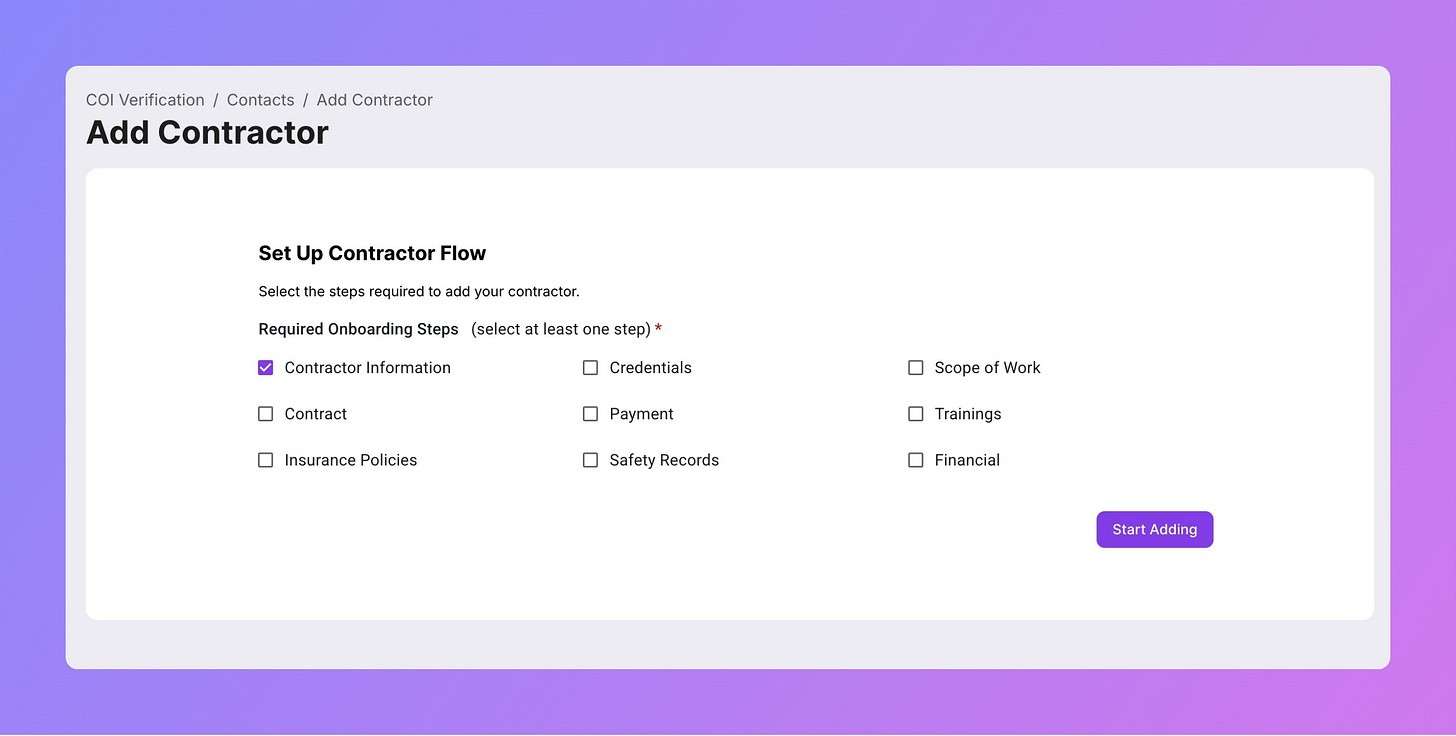
Enter the contractor’s:
Company name
Primary contact name
Email address
Assign them to the appropriate contractor type
Set the deadline for completing onboarding
Send Invitation
*If you already have a contractor type set up, you can choose the faster option and proceed straight to Option 2. ⬇️
⚡️ Quick Option 2 ⚡️- Send the Invitation Link
You can copy a reusable link for a contractor type and share it externally.
Go to the COI Verification section
Find Contacts module
Click the Invitations button
Choose the Contractor Type and copy the link, and share it with your contractor.
On the Contractors’ Side: What do they experience?
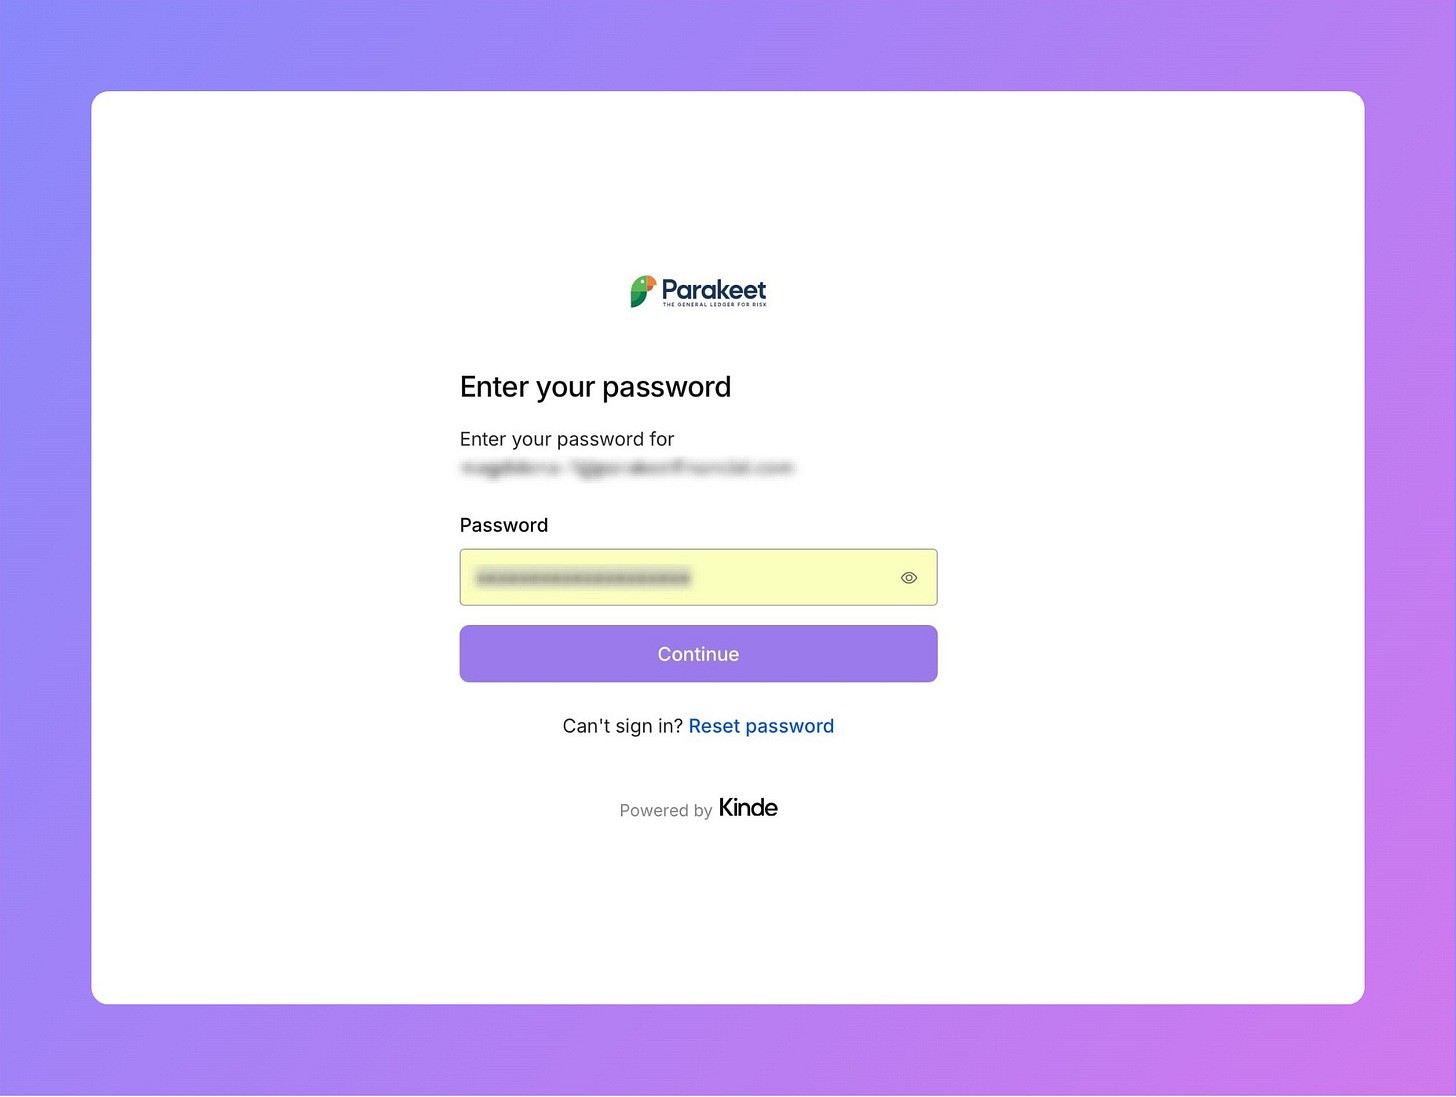
When contractors receive your invitation link, they will need to sign up and create an account in Parakeet Risk.
The next step is completing the onboarding process. They will have to go through all the steps and submit the completion by the deadline.
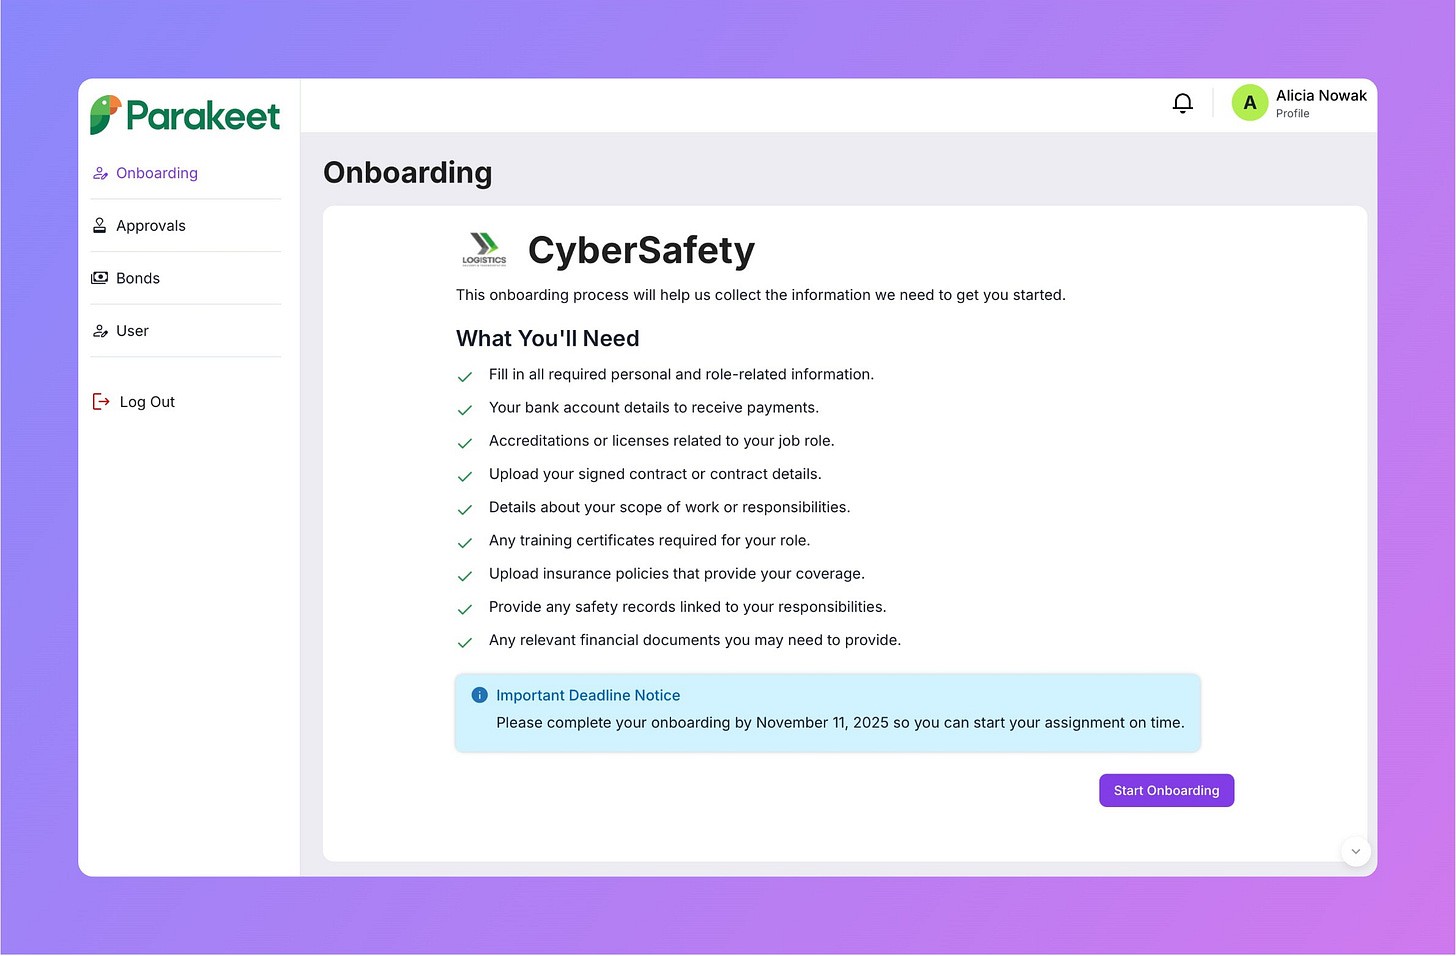
Afterwards, contractors can access a streamlined portal where they can:
View their onboarding status (submitted, pending approval, approved)
Upload required documents and credentials
Enter payment and banking details (including Mastercard Open Banking integration)
Submit training certificates
Connect their insurance policy through Canopy Connect for automatic data sync
Share their safety record and performance metrics
Discuss the scope of work details
Upload and negotiate contracts
Chat directly with your team for questions
All information contractors submit automatically appears in your company dashboard, creating a collaborative two-way process.
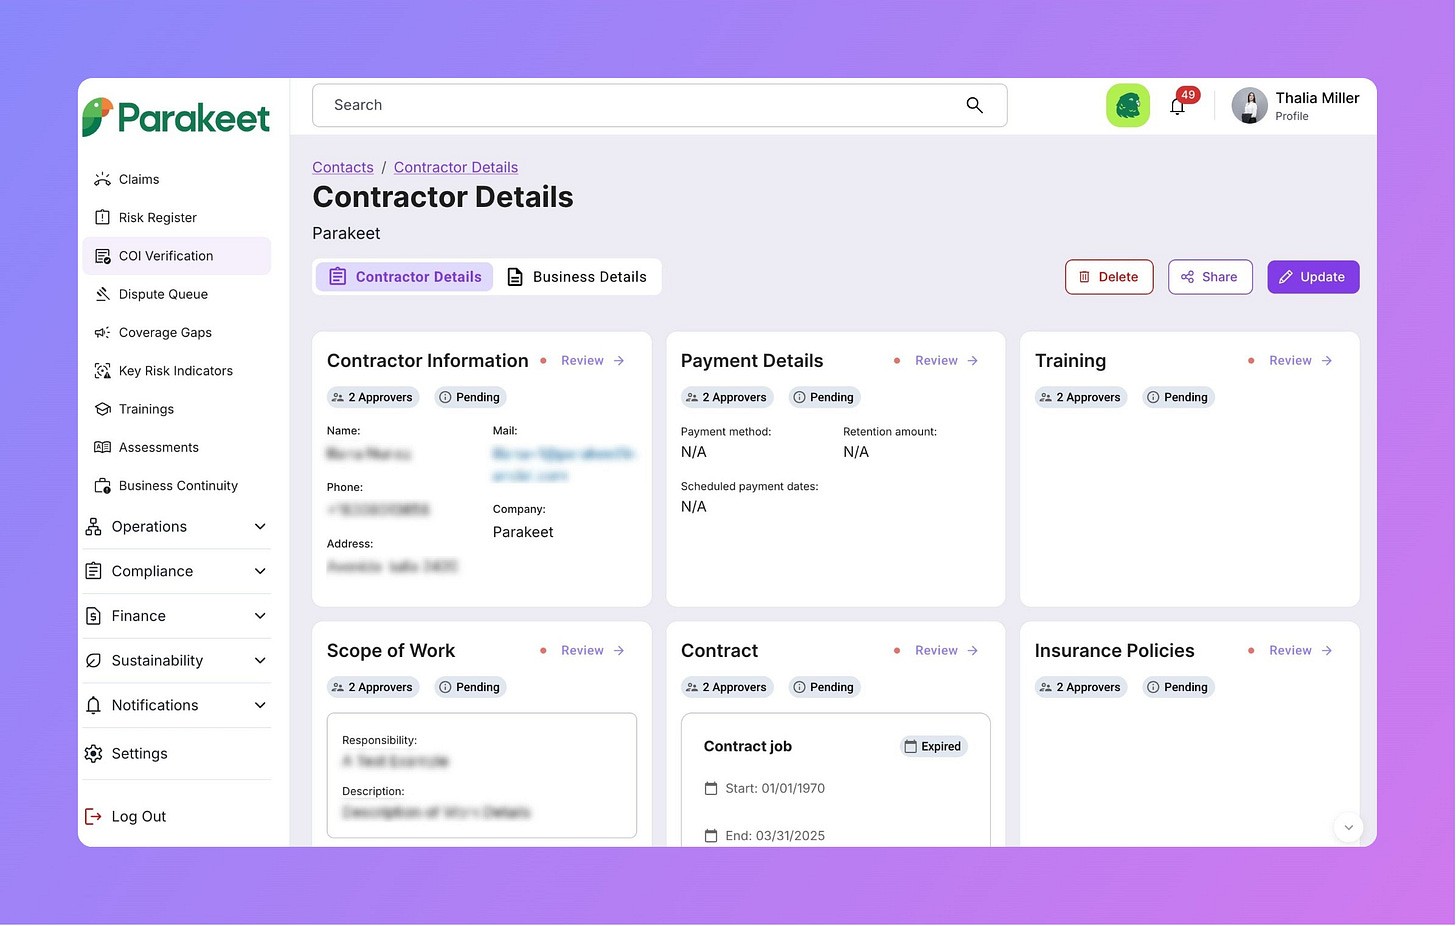
Managing Invited Contractors: Track Compliance & Analytics
A manufacturer’s view includes all crucial Contractor Information, such as payment, training, and data needed from the hired contractor.
Contractor Dashboard
Once contractors begin onboarding, you can track their progress in real-time:
View completion status for each onboarding step
See how long contractors have been in the onboarding process
Monitor which steps are completed, pending, or require attention
Access internal chat to communicate with your team about specific contractors
Assign contractors to projects once approved
Contractor Analytics
Track your onboarding performance with built-in analytics:
Total number of active contractors
Contractors who started and stopped onboarding
Current stage in the onboarding process for each contractor
Average time to complete onboarding
Monthly contractor additions
Step-by-step completion rates
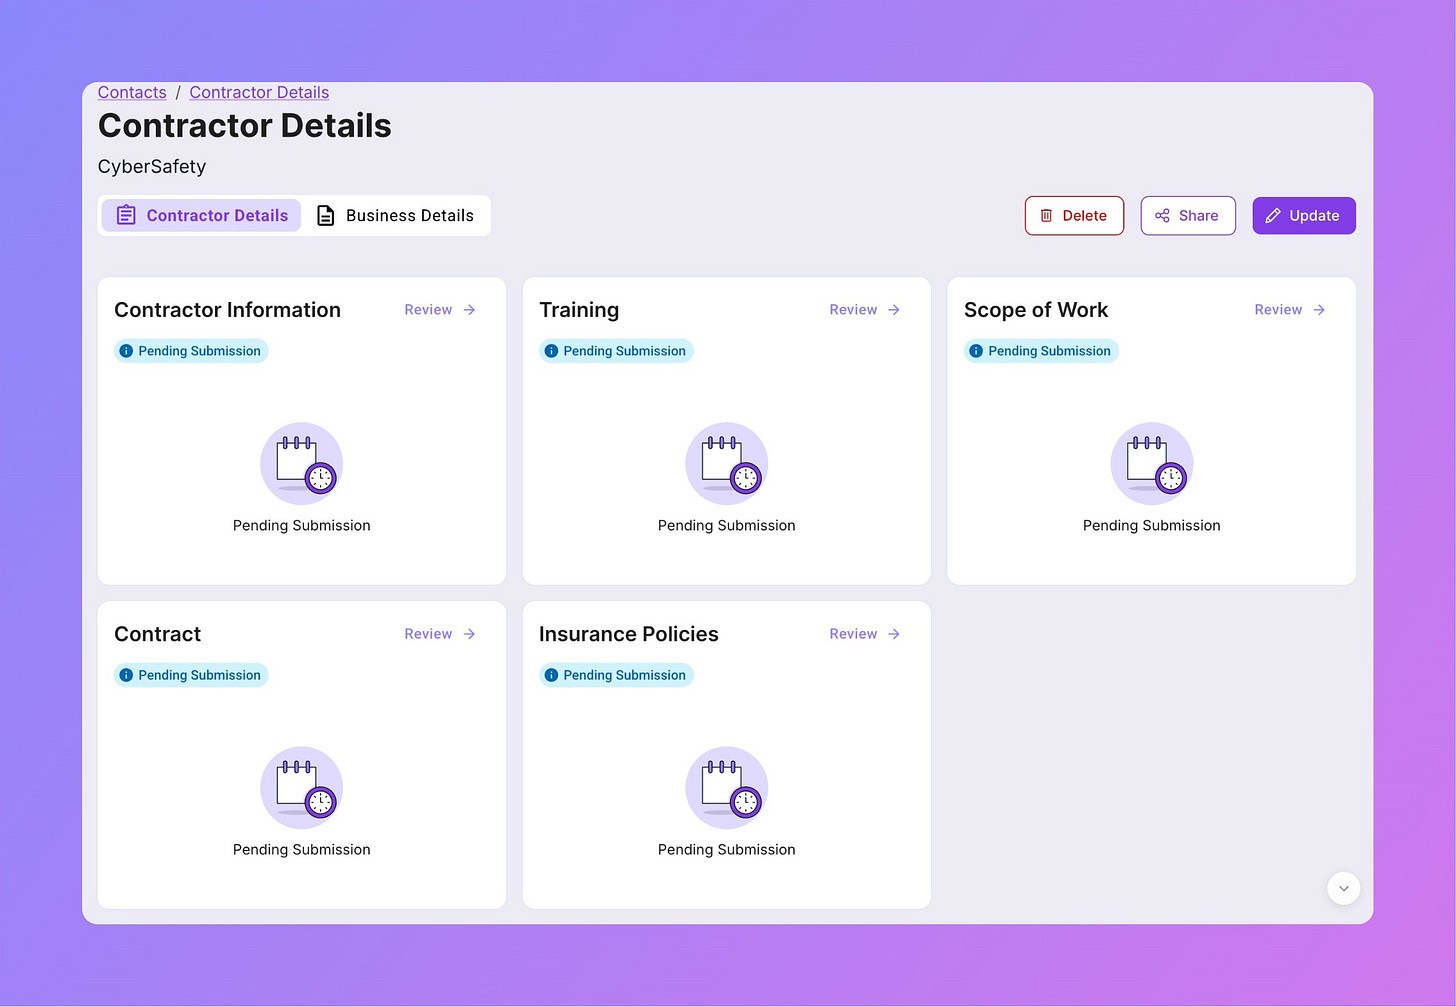
Contractor Detail View
For each contractor, access comprehensive information, including:
All submitted documentation and credentials
Payment history
Contracts and agreements
Hours worked
Safety records and compliance metrics
Project assignments
Communication history
You can update contractor information directly from this screen as needed.
✨ Useful Tips ✨
1. Set Up Contractor Types First 🧳
Before sending invitations, create all relevant contractor types for your organization. This ensures consistency and saves time.
2. Customize Requirements by Risk Level ⚙️
High-risk roles (working with heavy machinery, hazardous materials) should have more stringent insurance and training requirements than lower-risk positions.
3. Use the Chat Feature 💬
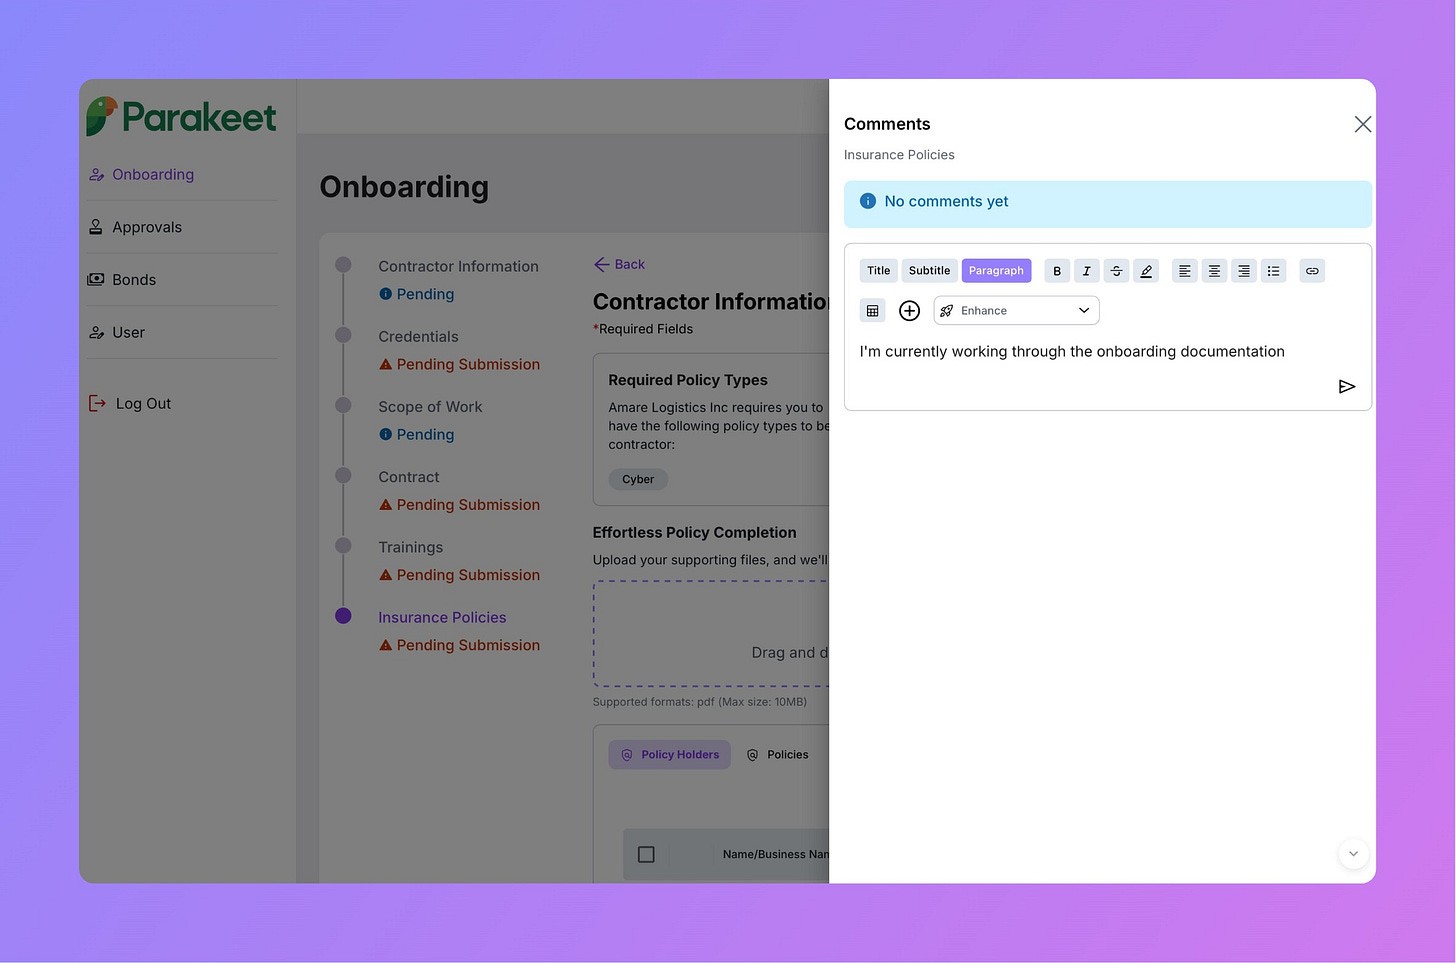
Encourage contractors to use the built-in chat if they have questions or want to update their status. This keeps all communication transparent and documented in one place!
4. Monitor Progress Regularly 📈
Check your contractor analytics dashboard weekly to identify bottlenecks in the onboarding process and improve completion rates.
Ready to transform your contractor onboarding from a time-consuming administrative burden into an efficient, transparent process?
Book a Parakeet Risk demo to see Contractor Onboarding in action 🦜
Need help getting started? 🤝 Our team can assist with setting up your first contractor types and customizing onboarding workflows for your specific industry needs. Save the slot for a demo!
